Now that the weather is warmer and the days are longer, there are more opportunities for fun outdoor activities. These outdoor activities are extra special because they each require materials found outside in nature! So let’s learn more about nature and have fun along the way!
Spring Interactive Board
Materials:
- Large piece of cardboard or poster paper
- Markers
- Clear tape (preferably double sided tape)
- Grass, flowers, leaves, sticks, and any other materials found outside!
 This is a great activity to do as a family or individually. First, start with a large piece of plain cardboard (or poster paper). You can cut open an empty cereal box, Amazon package, or shoebox to use as your board. Then, using a marker, have your child draw large shapes related to spring (flowers, butterflies, the sun, etc.). Make sure they are nice and big! Next, carefully place tape on different parts of each shape (this is where your children’s awesome nature finds will go). In the example provided, tape was placed on the butterfly’s wings and on each of the flower’s petals. Using double sided tape would make this step easier but rolling single sided tape will work just fine. Once the board is taped it is time for the super fun part! Have your child pick flowers, plants, leaves, sticks, grass, etc. of different colors and textures and stick them on their board to fill up the shapes. For example, the butterfly they drew can have wings made of different sized leaves; or the flower they drew can have flowers, or leaves as petals…or both! The possibilities are endless and the most important part is to be creative. As your child is filling up their board, talk to them about the different nature finds they’ve discovered. Talk about colors, shapes, textures, and size. Once their board is complete it can be displayed in or outside of your home. Make spring memories with your children by creating a fun and easy interactive board this spring!
Leaf Art
Materials:
- Plain paper
- Leaves in different shapes and sizes
- Crayons or colored pencils
- Picture frame (optional)
 This activity is perfect for children of all ages and super easy to do! Start by exploring your backyard, the park, or by going on a walk. Help your child find as many different leaves as possible in different colors and sizes. Freshly fallen or picked leaves will work best for this activity as dried leaves will break apart easily. You can even turn this little leaf hunting activity into a game. Try playing iSpy to get them engaged and looking around their environment-they might find some new leaves along the way.
Once everyone is satisfied with the leaves they’ve found, it’s time to make some art! First, have your child place a leaf on a flat surface and cover it with a plain piece of paper. Then, they can select which colors of crayons they want to use. Have them carefully color over the layered paper to reveal their leaf’s unique print. Repeat this process with different leaves on the same paper to create a colorful masterpiece! You can have them compare their drawings of different leaves and encourage them to think about why some leaves work better than others. Once they’ve completed their artwork you can help them frame it or even hang it up on the fridge for the whole family to see!
DIY Terrariums
Materials:
- Container for the terrarium (glass bowl, plastic container, bottom half of milk carton, etc.)
- Seeds (of your favorite plant!) –or- a small plant
- Sterile potting mix
- Decorative elements (gravel, sea glass, beach stones)
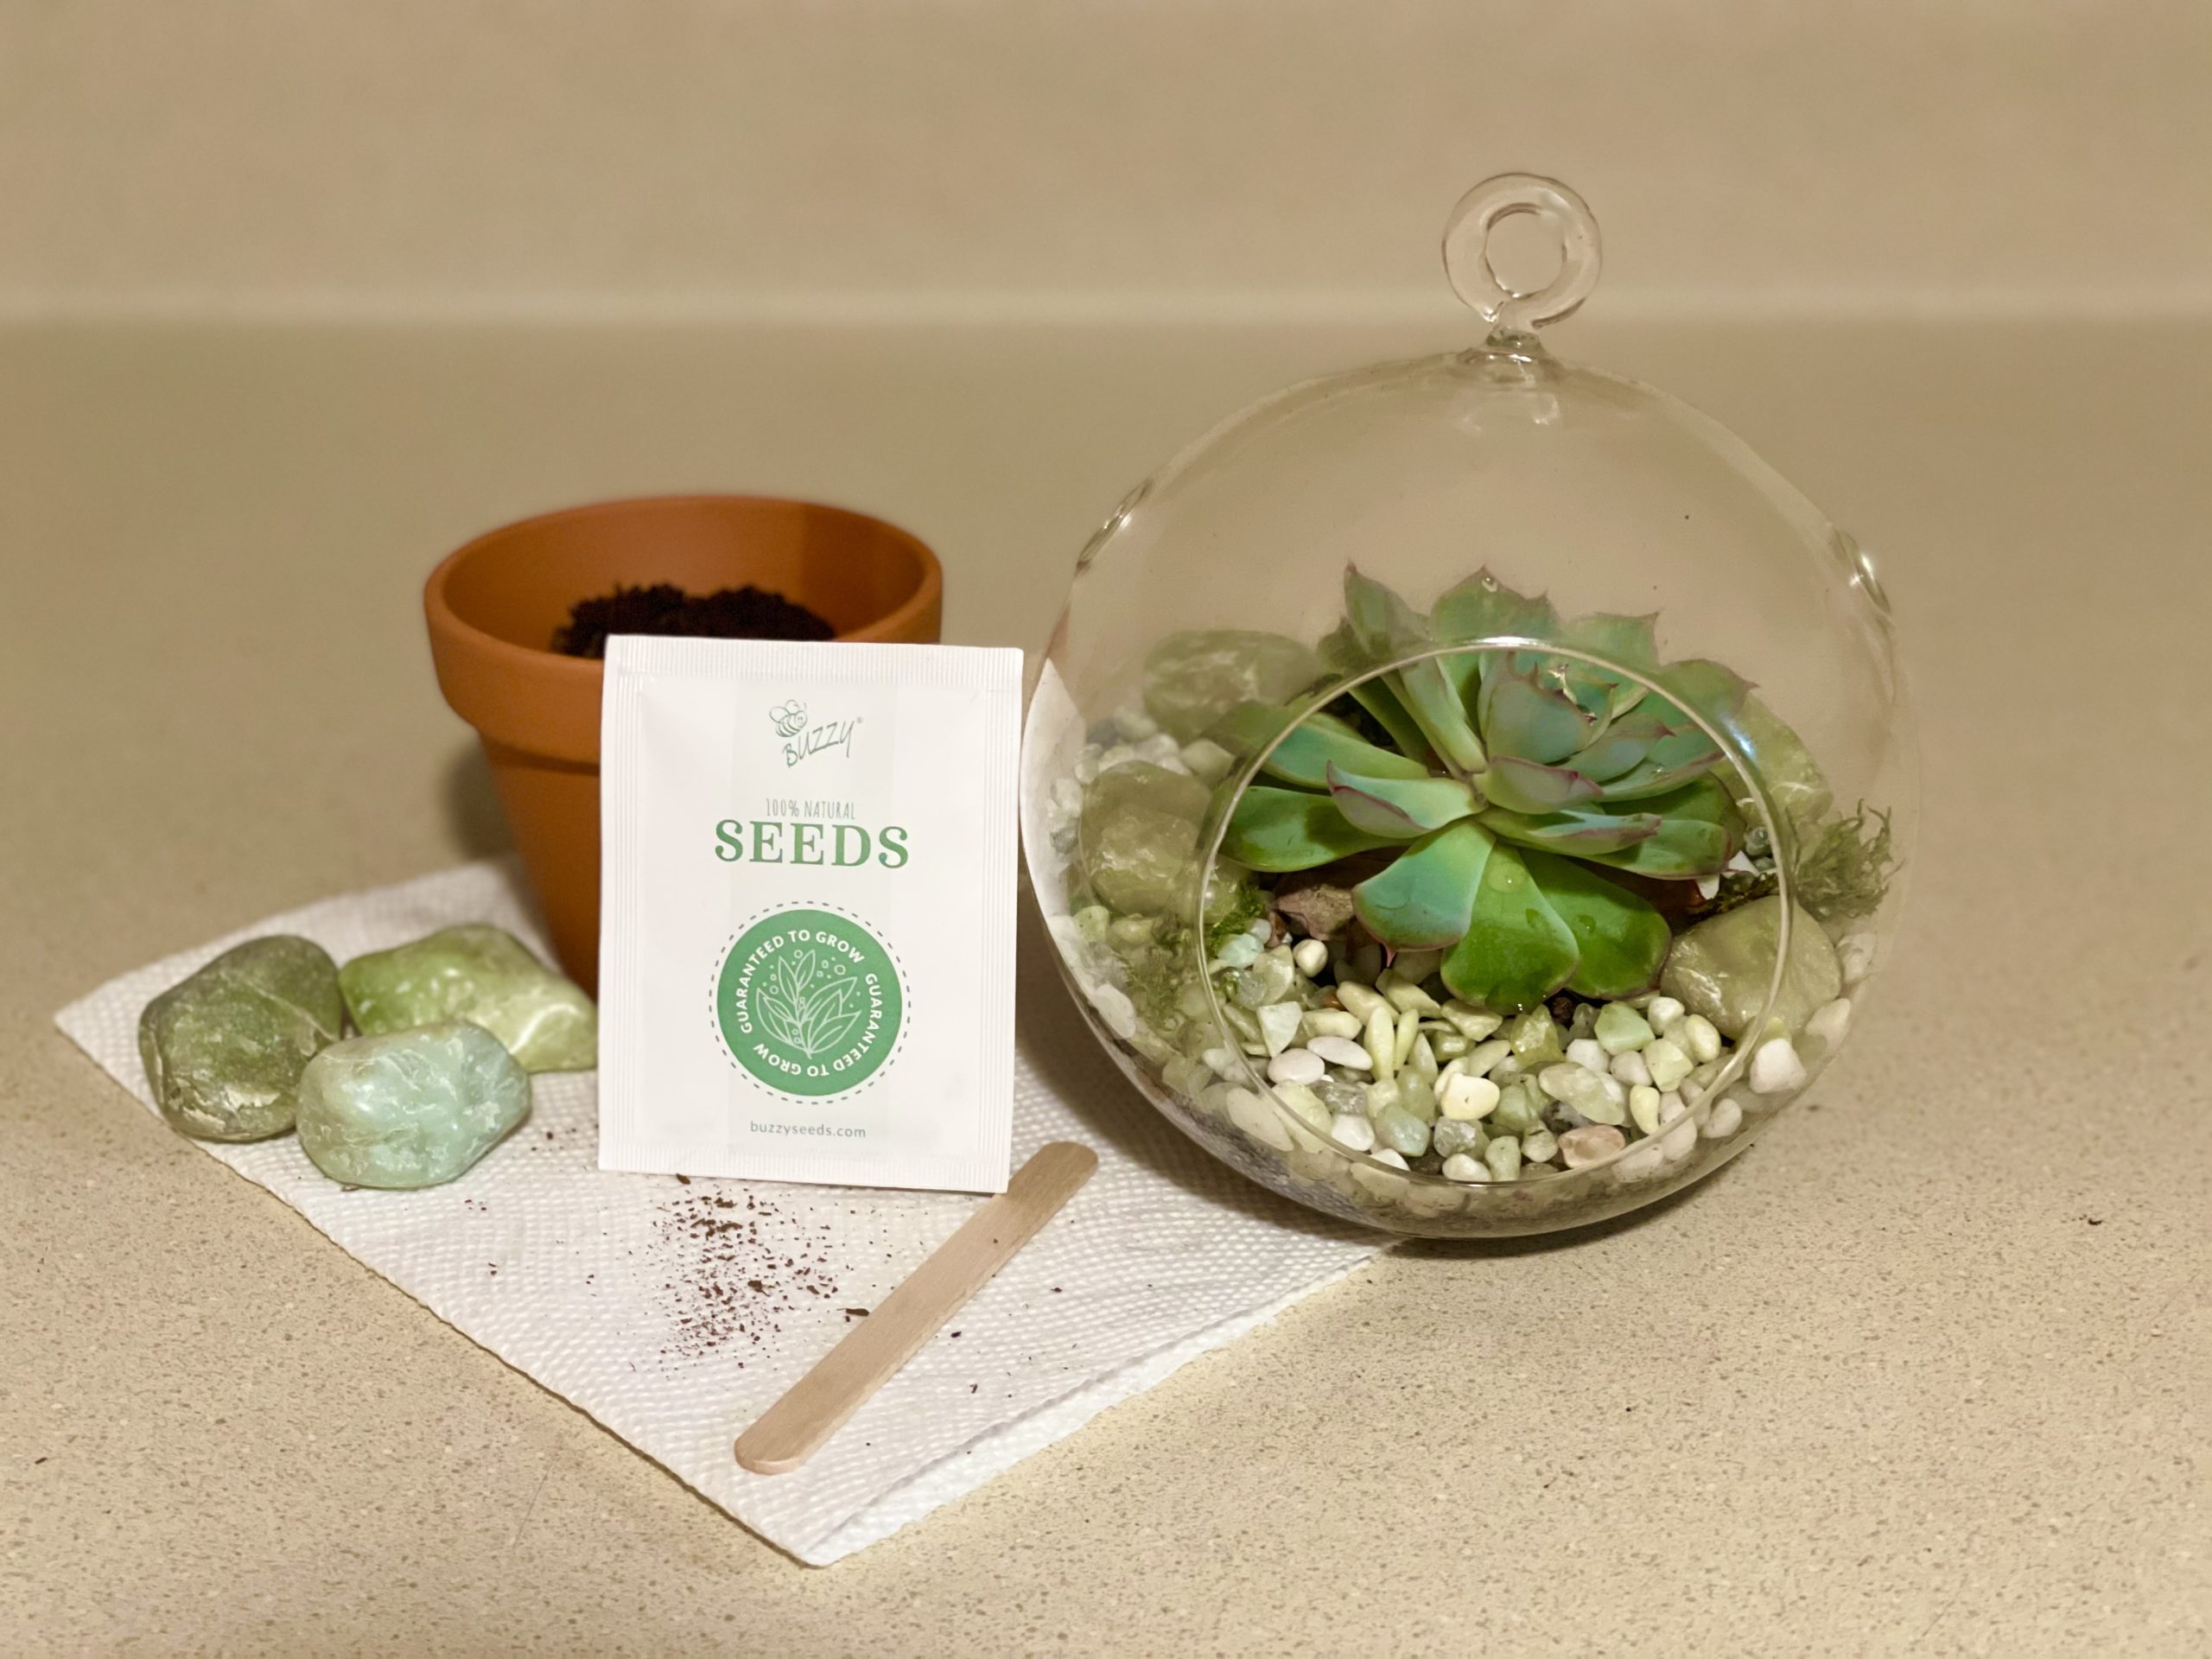
 There is nothing more fun than making your own terrarium! This activity is a great way to get children excited about something new, and teach them about the importance of taking care of a living thing. In this case, a plant. The first step is to choose a container. Any container, whether it be the bottom half of a milk carton or a little glass bowl from the dollar store, will work. The next step is to choose a plant for the terrarium. It is important to make sure that the plant will fit comfortably in the container without touching the sides. Succulents are a good option since they are relatively low maintenance, requiring only a little water and a lot of sun. However, if you decide to use seeds instead then any will work just fine! Start by having your child place the potting mix of soil into the container. Using a spoon might make this step easier and less messy. Make sure there is at least a few inches of soil before adding the plant. Then, carefully place the plant into the soil making sure all the roots are covered. If you are using seeds, create a small hole in the soil before putting the seeds in. Then, cover the seeds up with soil. Lastly, and this step is optional, the terrarium can be decorated with small stones, moss, shells, etc. Your child should make it their own!
Functional skills that these outdoor activities teach:
Attending:
- Ask your child to repeat instructions before starting each activity
- Model the steps of the different activities alongside your child to make sure they are attending to what you are doing
Fine motor skills:
- Practice using pincer grasp when holding markers to decorate their spring board
- Or using crayons/pencils to make their leaf art
- Manipulating the outside environment to create their spring board
- Using pincer grasp to pluck leaves, flowers, etc.
- Using pincer grasp to add tape and secure items to board
Multi-step directions:
- “First draw your shape, THEN add the tape to the board”
- “Pick your container, BEFORE picking your plant”
- These examples test auditory comprehension skills
Expressive Identification:
-
- Picking a specific item (flower, leaf, stick, marker, crayon, etc.) and asking:
- “What color is this?”
- “Is this a flower or a leaf?”
- Picking a specific item (flower, leaf, stick, marker, crayon, etc.) and asking:
Receptive Identification:
- Presenting an array of materials to be used and asking:
- “Show me the yellow flower”
- “Point to the big leaf”
- To make this more challenging you can make additional statements such as:
- “Show me a flower that is NOT white” – This example teaches critical thinking skills
- “Give me the leaf that is small and pointy” – This example requires your child to combine concepts
Size Concepts:
- Presenting two or more similar items for comparison and asking:
- “Which one is smaller/bigger”
- “Which plant is too big to fit in the container”
- “Put them in order from smallest to biggest,” or vice versa