Ain’t that the truth! I’m almost thirty years-old and I fidget! My go-to fidget when I’m nervous, anxious, or just plain bored is spinning my rings on my finger.
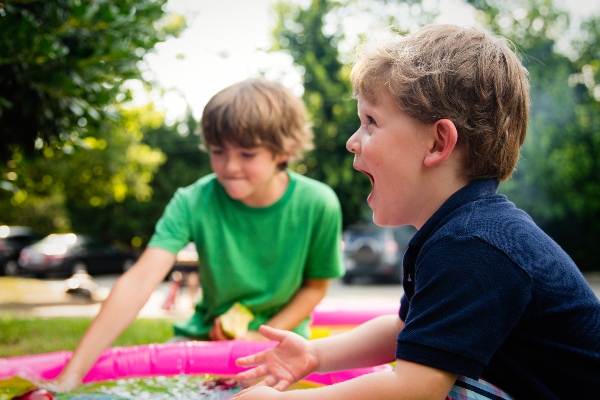
Fidget toys are universal items that can be purchased or made at home with tons of different things. (DIY at home fidgets are definitely the fun option!) We’ve all been in situations where our kids, clients, or others need a little something to keep them busy. Whether it be on a long car ride, a trip through the grocery store, or on the sidelines of a sibling’s soccer game, fidget toys will do just that.
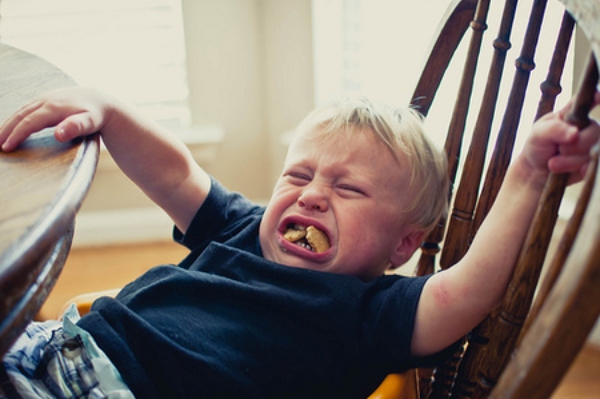
Several environmental factors can be very overwhelming for children with Autism. These toys will provide them with physical and repetitive movements to keep them engaged in the activity at hand rather than focusing on an overstimulating environment.
Interested? Read on for some fun fidget ideas you can make on your own! Most of us have been stuck in the house for quite some time now and these easy DIY projects can be made with tons of different materials, some of which are common household items you probably already have! These can ease transitions from remote learning to in-person school, provide our children with some type of movement break when sitting in one seat for a long period of time, decrease frequent movement for those of us who are full of energy 24/7, and so much more.
Fidgets will provide support in the classroom, in the home, and on the go! What’s even more special about do-it-yourself fidgets is that it allows kids to choose the fidget they want and make it themselves. Modifications are easy to make dependent on who will be making and using them. For example, our children that are more challenged by these activities can get more hands on help, where our older children may be capable of completing the majority of these on their own. Slight modifications will be listed within the steps of each one! Let’s check out what we can make!
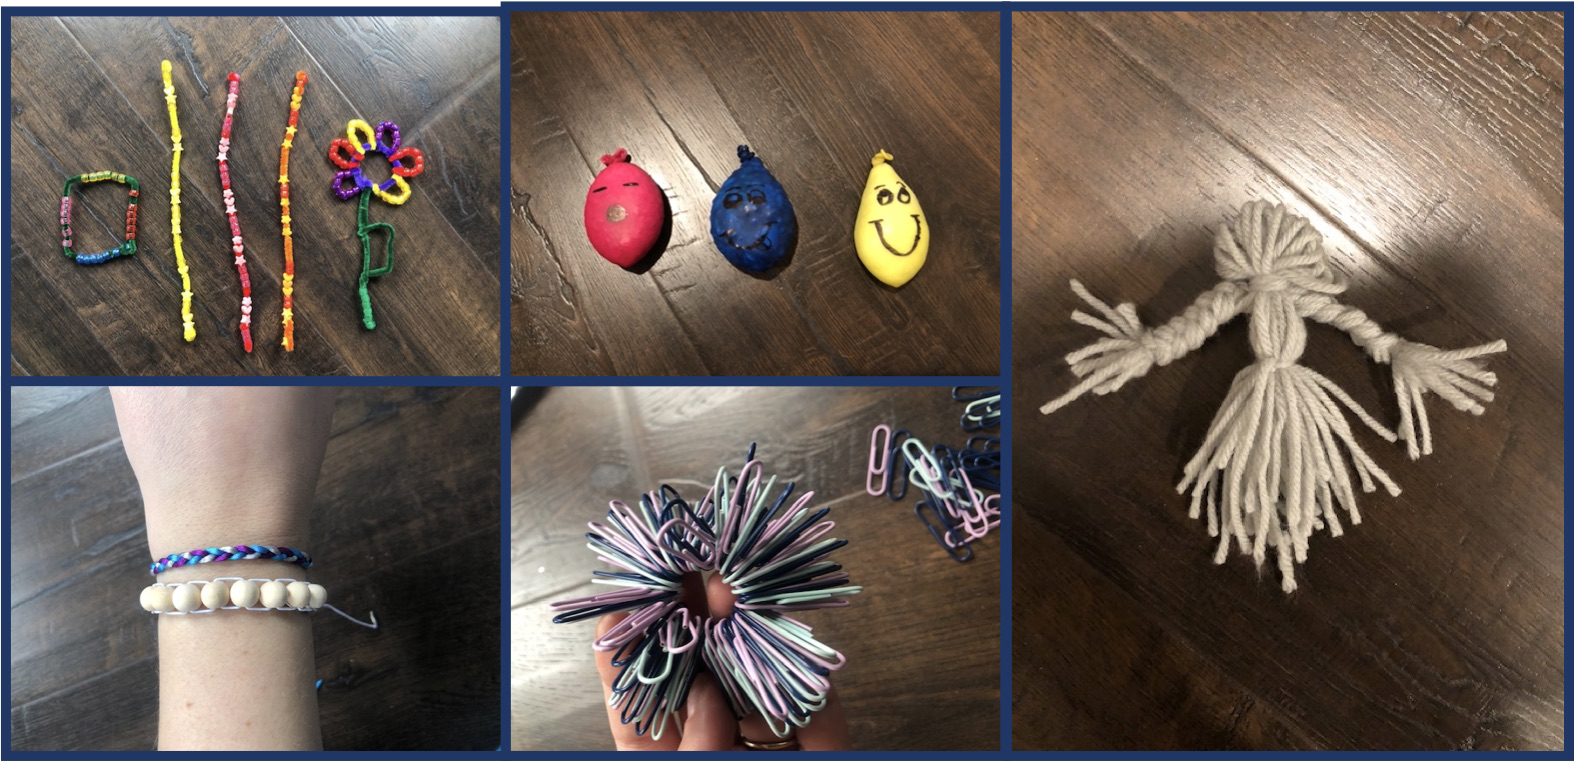
 Beads on a Pipe-Cleaner
It’s as easy as it sounds! Grab some pipe-cleaners and some beads- any kind you want, just make sure the holes within the beads are big enough for the pipe cleaner. The beauty of pipe-cleaners is that they can easily be molded into different shapes. You can take this activity one step further and make shapes with your beads which will make it a little more complex! Our more challenged children may need assistance. For example, you can hold the pipe cleaner while they put the bead on. When you’re done, you can loop the pipe cleaner around to turn it into a bracelet!
Floating Bead Bracelets
For a different bead based activity, try making this bead bracelet using beads on string or ribbon.
What you’ll need:
- String or ribbon
- Scissors
- Beads
What you’ll do:
- Tie a knot in the top of your string. You want a string hanging down on each side.
- You want to insert the bead onto the right string through one end and then insert the opposite string through the opposite end. The string should cross through the center of the bead.
- Pull both ends from each side of the bead until your bead has reached the knot!
- Repeat until there are enough beads to complete a bracelet for the size of your wrist.
- Tie a knot at the end.
- Put it on your wrist and attached it with another knot to the other end!
It was completed this way so the child is able to roll the beads while wearing it. We used silk string for the braided piece to add some color. For the beaded bracelet we went with stretchy string to be universal!
Balloon Squeeze Family
This one’s a classic! You don’t have to make a whole ‘family,’ one balloon squeeze will do. But, if you’re feeling up for a family – go for it! The more the merrier, right? Creating multiple characters may engage your child in some pretend play, which won’t is always a bonus.. We opted to use different fillers within each balloon to provide different sensory stimulation.
What you’ll need:
- balloons,
- permanent marker,
- fillers
- [maybe] a funnel!
What you’ll do:
The process itself is easy! You can use a funnel to insert the materials into the balloon if preferred, or you can hold the balloon tip with one hand and slowly drop the materials in with the other. In case they get jammed up in the neck of the balloon, blow some air in to expand the space. This will expand the neck and allow the material to move all the way down! Then you’ll have more room to add more material. We used a bean mix, coconut flakes, and rice!
 Braided Yarn Dolls
What you’ll need:
- Yarn
- Scissors
- Piece of scrap cardboard
What you’ll do:
- Wrap yarn around the cardboard going up and down. (The longer the cardboard is, the ‘taller’ your doll will be).
- When you are happy with the thickness of the yarn around your cardboard, slide it off but keep it in the circular shape.
- Cut one end of the yarn- making all the pieces one long length!
- Bring your ends of yarn together, like your folding the yarn bunch in half.
- Make the top piece a tight ball for a head and use a new piece of yarn to tie underneath the head to keep it in place.
- Split your bottom yarn bunch into three sections. This will be the arms and legs!
- You can tie more bunches down the middle as a waist. You can do as many or as little as you’d like.
- Braid your legs or your arms! Or leave them all fringy!
Paper Clip Pop
The Paper Clip Pop is the easiest one!
What you’ll need:
- Paper clips
- Plastic ring from water bottle
What you’ll do:
Pull the plastic ring off of a standard water bottle (the piece under the cap). Then slip paperclips on all the way around the water bottle ring. You can do this with all different sizes and colors of paperclips.
How can I make this educational or ABA related when working with my child/client?
Anybody supervising these activities can incorporate some functional skills within each one. Below are a few examples in which you can do this.
Following multi-step directions

“Go get your string, beads and scissors. Then meet me back at the table.”
“First choose your string color, then we can put the beads on.”
*Giving the child multi-step directions will require them to use auditory comprehension.
Attending
The child must pay attention to the activity and directions. You can explain the directions to the child and then ask, “Okay, what comes next?” You also want the child to be engaged in the activity start to finish!
Eye Contact
Requiring the child to make eye contact throughout the activity is important. This will ensure they are engaged and paying attention. To do this you can just call the child’s name and wait for them to respond by turning their head towards you and looking at you. Once this has been accomplished, provide them with praise, the next step, or material they are waiting for!
Fine motor skills
Using a combination of complex small muscle movements between the hand and fingers with simultaneous eye coordination.
* Stringing beads on a string or pipe cleaner.
* Inserting materials into a deflated balloon.
* Peeling off velcro dots to attach onto the popsicle stick.
* Cutting and assembling your yarn doll.
* Sliding paper clips onto the water bottle ring.
 Expressive Identification
Shapes, color, size – you can pick up various materials from what you’ve gather and ask the child questions such as;
“What shape is this?”
“Which paper clip is bigger?”
“What color is this?”
Receptive Identification
Shapes, color, size – here you want the child to physically respond rather than verbally respond. To do this you can grab an assortment of materials and ask them questions such as “Give me the biggest bead” or “Touch the blue paperclip.”
Create a pattern
When doing this you can create a pattern and ask the child to mimic it or provide them with items and tell them to make a pattern.
For example: provide the child with a handful of blue and purple beads. Tell them “make a pattern” or you can be more specific, such as “make a pattern with two blue beads and one purple bead.”
*You can incorporate this skill on the table top before transferring the materials onto the string, pipe cleaner, or water bottle ring!